… will start half an hour later, at 2pm!
Final class, December 5th…
04 Sunday Dec 2016
Posted in For Class

04 Sunday Dec 2016
Posted in For Class
… will start half an hour later, at 2pm!
30 Wednesday Nov 2016
Posted in Uncategorized
29 Tuesday Nov 2016
Posted in Assignments
Class will begin with you filling out the teacher evaluation forms. I do read these and value your insights and suggestions that make the class better. So, bring your fully charged laptops and take a few minutes to do this.
Bring to class your (beautifully printed) final gig poster, 18 x 24″ for the final critique of the season. Also bring your sketchbook to be graded. After poster crit, I’ll take a last look at the sketchbooks.
Total non sequitur: for those of you interested in growing your hand lettering skills, here’s a great article which includes tips on tools and definition of terms.
21 Monday Nov 2016
Posted in Assignments, Uncategorized
Students can redo up to 2 assignments that have a grade of B- or below. Grades are awarded in a point system, all assignments adding up to 100 points total by end of semester. Final deadline for redos: Wednesday, December 14. You can drop work off by 5 pm in the Shaffer main office.
Calligraphy: 15 points total.
14.5 = A
14 = A
13.5 = B+
13 = B
12.5 = B-
12 = C+
11.5 = C
11 = C-
9.5-10.5 = D.
Storytime and Unorthodox Materials message poster: 20 points each.
19 = A
18–18.5 = A-
17.5 = B+
17 = B
16–16.5 = B-
15.5 = C+
15 = C
14-14.5 = C-
12-13.5 = D
18 Friday Nov 2016
Posted in Assignments, For Class
Bring to class printed color comps of your posters. The illustration and type should well on their way, needing only refinement. To save money you can print on 11 x 17″ and scale to fit. The 18 x 24″ print will be due for final critique the following week.
Bring your sketchbooks for me to check. I’ll take a look at them but not grade them till the following week.
On Thursday December 1, at 6:30 in Shemin Auditorium, I’ll be giving the VALS lecture. I’m not that interested in talking about my work for this one, though. I’ll be talking about my experience at ICON9, the Illustration Conference in Austin TX last summer. It was a grand time and so exciting to see the wealth of opportunities in the illustration world these days. If you can, please come.
13 Sunday Nov 2016
Posted in Assignments, For Class

Poster by Rich Kelly, SU Illustration Program alum
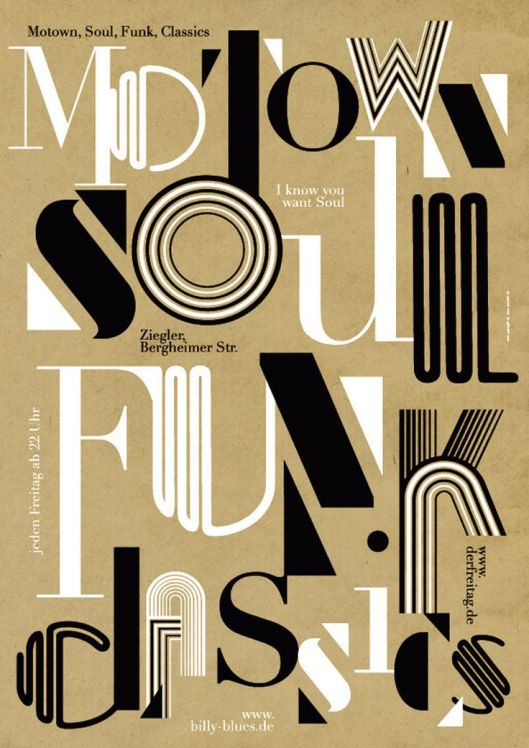
Bring to class sketches for your final assignment, the gig-poster. Do LOTS of thumbnails; don’t go too quickly to a solution but examine alternates. Here’s an article from Print magazine about gig posters that might spark some ideas.
Bring to class your sketchbooks to show me. Be prepared to work in class.
01 Tuesday Nov 2016
Posted in Assignments, For Class

During the week, work hard and bring your best energy to the unusual-materials project. Email me if you have any questions or want to show wip.
In class: final crit for the Unusual Materials assignment.
Ater crit, we’ll go over the next and final assignment, a gig poster. Think about what music you love, who you wish you could illustrate and design for.
24 Monday Oct 2016
Posted in Assignments, For Class
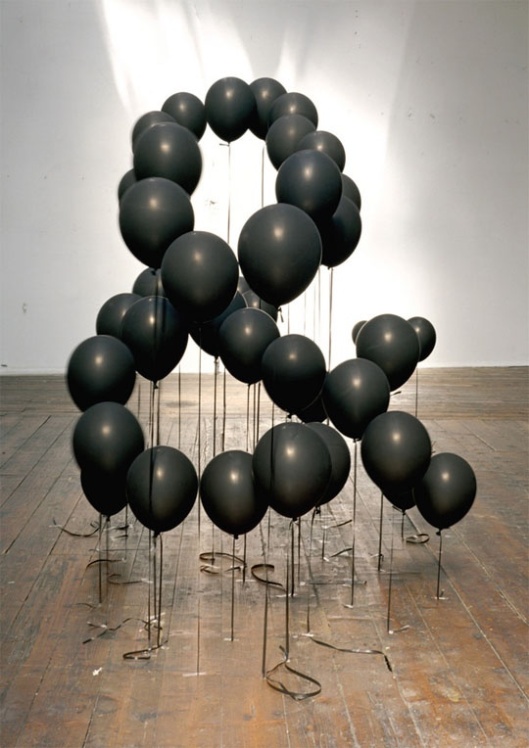
Sketch ideas for your unusual-materials poster. What are you going to say and what are you going to say it with? Don’t forget to sketch in the form of a wide rectangle to reflect the proportions of an 18 x 24″ poster. Consider the placement of your words within that rectangle; that is part of the design.
In your sketches resolve what your style of lettering will be. Consider what material will amplify or comment on the phrase. Will your material behave the way you want it to, form the shapes you need? Collect samples of your material and play its arrangement, what adhesive you might have to use, where your set-up will be, how you’ll photograph it.
Bring to class thumbnail sketches (lots is better than few) and test strips of your materials. In some cases there will be pictures of your materials because you can’t schlep them in. That’s OK, show us what you’ve got.
You have just 2 weeks for this project.
22 Saturday Oct 2016
Posted in Assignments, For Class
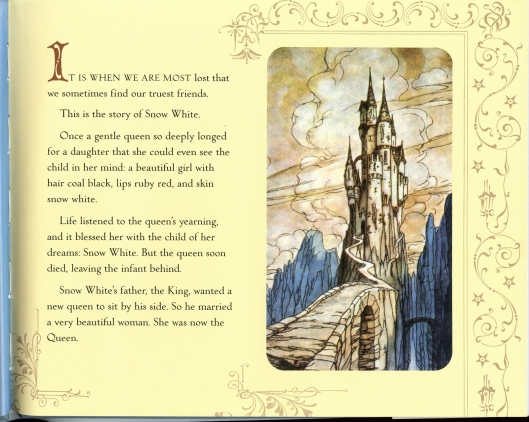
Bring to class your printed storybook covers and interior spreads for final critique. Your artwork must be repro size (i.e. the same size as the final printed piece). When you print the cover, if you have a pale background you can put a gray .5 rule around the trim size or cut it out to size. If you cut it out, in the print dialogue box select “Marks and Bleed” and select “Cropmarks”. This will give you corner marks to indicate where to trim your page.
When printing your interior spread, make sure your pages butt together (no space in between the 2 pages). Using InDesign, you can print your cover separately selecting page 1 only; under Setup select the vertical format and 8.5 x 11″ paper size. To print the spread: under general, choose Spreads; under Setup select the horizontal page format and paper size, 11 x 17.” Make sure to select “Cropmarks” and trim out your pages. If you’re sending the document to Schine Copy Center, you may need to save it as a pdf. Choose the Print Quality option and follow the above general directions, saving one document as cover and the other as the spread.
Questions? Ask me. I’m around.
11 Tuesday Oct 2016
Posted in Assignments, For Class

The front cover of your book cover should be nearly done and the interior illustration at least roughed out. You’d be smart to plan the interim pages and illustration before finishing the jacket; they are all parts of the same whole and have to work together.
The front cover should have an image or illustration, display type of the title, and the author’s name (you can include yourself as illustrator.) If stumped, look at existing books of that genre. The interior spread will be 2 facing pages and include: chapter number, chapter title (or name of a story), drop cap, folios (page numbers) and at least a couple of paragraphs of body copy. The illustration will be on the facing page… unless you come up with another layout idea that serves the topic well. You may include ornamentation if appropriate.
We’ll have a mini-crit of your front covers; show your interior spread if you’ve got it ready for feedback. In class we’ll do a workshop in setting a block of body copy and how to insert a drop cap (yep, there’s more than one way.)
Final critique for the Storybook project is the following week. Pace yourself for a happy conclusion; get lots done in the coming week. And enjoy yourselves!